A hilltop in cloud is a poor place to learn map reading. Everything looks the same, water is running down your sleeve, and the phone that was supposed to save you is down to four per cent battery. The skills themselves are not difficult, though. They are the sort of thing you can pick up at a kitchen table in twenty minutes and then spend years refining. Four of them do most of the work: scale, contours, grid references and compass orientation.
Scale tells you how much ground fits into a centimetre of paper, and it decides how much the map can tell you.
Ordnance Survey's two walking series are where most people start. Landranger maps are 1:50,000, where 1 cm covers 500 m. Explorer maps are 1:25,000, where 1 cm covers 250 m. Every grid square on both is 1 km across, but on an Explorer that square is 4 cm wide, so there is room to show walls, gates, fences, field boundaries and access land. That extra detail sounds like a luxury until you are hunting for a gate in a wall at dusk.
Contours differ too. In the hills, Landranger sheets use 10-metre intervals and Explorer sheets use 5-metre intervals. On steep ground that gap is the difference between seeing a boulder field and seeing a smooth slope.
Scale also tells you how far a route spreads across the paper. A half-day walk of 8–10 km covers 32–40 cm on an Explorer sheet and 16–20 cm on a Landranger. That is a useful thing to know before you discover your route runs over the fold and onto the next sheet.
For measuring distance, use the scale bar at the bottom of the map. Lay a piece of string along your route, then straighten it against the scale bar. Or use the edge of a piece of paper, marking each bend with a pencil. On a 1:25,000 map, 4 cm equals 1 km, so 1 cm is 250 m. On a 1:50,000 map, 2 cm equals 1 km. Knowing these numbers lets you estimate distance quickly without any tools.
A contour is a line joining points of equal height, a slice through the landscape like the waterline left by a rising tide on a beach. Stack the slices and you have the shape of the hill.
Start by finding the contour interval in the legend — usually 5 or 10 metres in UK upland areas — and notice that every fifth line is drawn thicker with its height printed in metres. Those thicker lines are the ones worth counting when you want to know how much climbing is left.
Contours point uphill in a valley. If the V aims away from the high ground, you are looking at a stream, not a ridge.
Counting contours gives you a height gain. If you start at 200 metres and the summit is 600 metres, and the interval is 10 metres, you have 40 contour lines to cross. That is 400 metres of ascent. On a 1:25,000 map you can also estimate horizontal distance between contours: if they are 2 cm apart on the map, that is 500 metres of ground, which tells you whether the slope is a gentle amble or a lung-buster.
On a convex slope the contours are tight at the bottom and open out at the top. The bulge hides whatever lies beyond it, so you walk further than you expect before the summit appears. Concave slopes do the opposite: gentle at the bottom, steeper at the top, which means you can see the whole slope and the ridge line above it from a distance. Both are worth noticing when you are judging how much ground remains at the end of a long day, or whether a shape on the skyline is a top or just a false summit.
A grid reference is an address. The National Grid covers Britain in 100-km squares identified by two letters, and those are divided into 1-km squares by the grid lines you see on the map. Each of those squares is further divided into tenths, giving you a six-figure reference that pinpoints a location to within 100 metres.
To read a grid reference, remember: eastings first, then northings. The easting is the vertical line, the northing is the horizontal line. Imagine walking into the square from the left, then climbing up it. The first three digits are the easting (read from the bottom axis or the numbers along the top/bottom), the last three are the northing (read from the side axis). For example, a reference of 123456 means: go to easting line 12, then estimate 3 tenths of the way to the next line; then go to northing line 45, and estimate 6 tenths. That gives you a 100 m square.
If you only need a general area, a four-figure reference (e.g., 1234) identifies a full 1 km square. Six figures (123456) narrow it to 100 m. Eight figures (12345678) get you to 10 m, which is useful for finding a small feature like a cave entrance or a specific bend in a stream.
Start by finding the grid square that contains your point. Read the easting from the bottom or top edge: the number of the vertical line to the left of your point, then estimate how many tenths across the square your point lies. Do the same for the northing: the horizontal line below your point, then estimate tenths upward. Combine them: easting first, northing second. So a point just past the halfway mark in square 34/56 might be 345567.
You can buy a small plastic romer that fits the scale of your map and gives you the tenths directly, but a steady eye and a bit of practice will get you close enough. Always double-check that you have not swapped eastings and northings — it is a common mistake that can put you a kilometre out.
A compass does two jobs: it tells you which way is north, and it lets you take a bearing to follow. For most British hillwalking, the magnetic variation is small enough (a few degrees) that you can ignore it for basic navigation, but it is worth knowing that it changes over time and varies across the country.
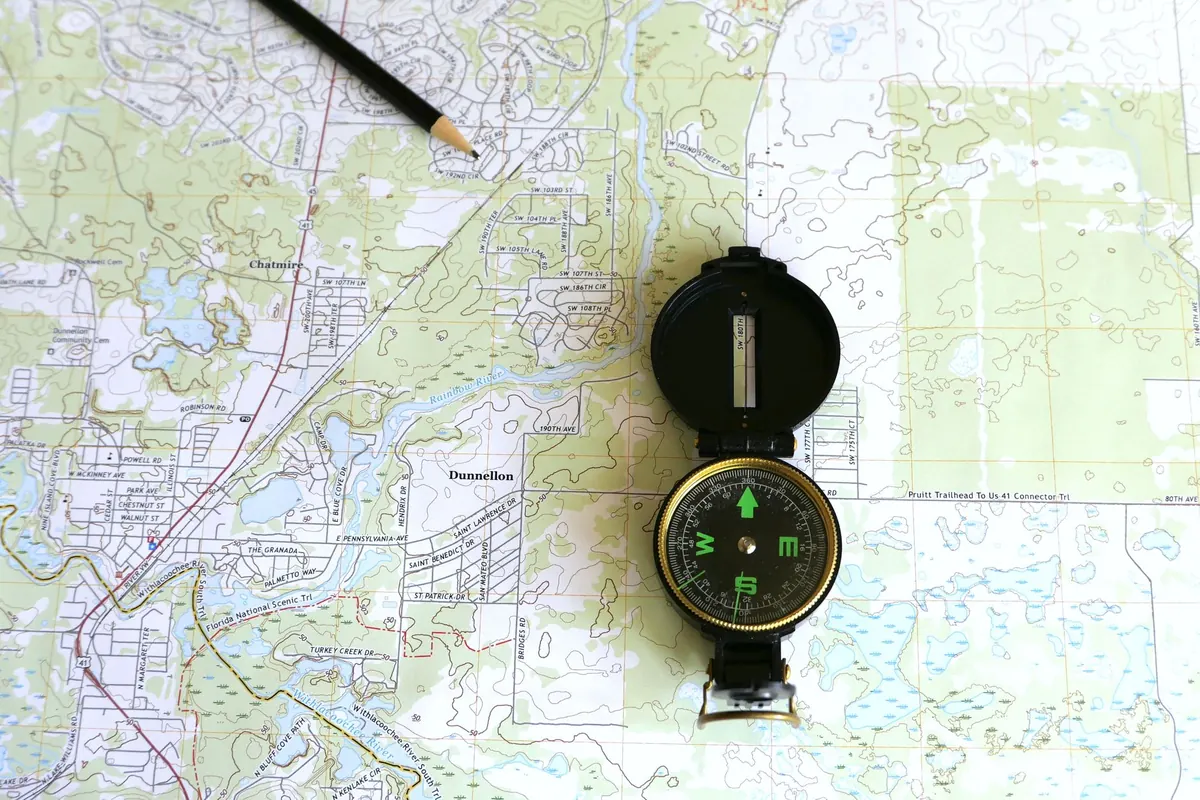
To orient your map, place the compass flat on the map. Turn the map until the compass needle aligns with the grid lines running north–south on the page (or until the red needle points to the north mark on the compass housing if you have set it). Now the map is aligned with the ground, and features on the map should match what you see ahead. This is the single most useful trick when visibility drops: if the map is oriented, you can identify a path, a stream or a ridge by matching it to the terrain.
To take a bearing, point the compass direction-of-travel arrow at a landmark, rotate the bezel until the red needle sits inside the orienting arrow (or until the grid lines align), then read the number at the direction-of-travel arrow. To follow it, hold the compass flat and turn your body until the needle is aligned again, then walk in the direction of the arrow. It sounds fiddly on paper; in practice it becomes second nature after a few tries.
Two simple techniques make compass work more reliable. Aiming off means deliberately aiming slightly to one side of your target so that when you hit a linear feature (a stream, a wall, a path) you know which way to turn. Handrails are linear features that you can follow to your destination — a fence, a ridge, a river — so you do not need to navigate precisely every step. Combine them with contour reading and you have a robust system.
The best way to make these skills stick is to use them on familiar ground. Take a local map and pick a hill you know. Find the summit, count the contours to estimate the climb, and take a six-figure grid reference. Then, without looking at the map, try to orient it using a compass and identify three features you can see. Check your answers. Repeat with a different hill.
Next time you are out, try navigating a short leg entirely by map and compass: no phone, no GPS. Start with a simple leg of 500 metres between two clear features. As you get more confident, add distance and complexity. The point is not to become a human GPS, but to build the habit of looking at the map, matching it to the ground, and knowing where you are — even when the cloud comes down and the battery dies.
Photo: Larry Hyler / Pexels